Makefiles (GNU Make) are ubiquitous in software development and they are a fantastically useful tool! But for all but the simplest tasks, the syntax can get very unreadable and messy.
Some programs like complex C or C++ projects will use Makefiles as the full build system it was designed to be, however most people tend to use Makefiles as simple task runners.
Consider the following example for a simple Go project:
.PHONY: build test lint
.DEFAULT_GOAL := help

help:
    @echo "Available Tasks\n"
    @echo "build :  Compile the project"
    @echo "test  :  Run unit tests"
    @echo "lint  :  Run linting"

build:
    go build .

test:
    go test -race ./...

lint:
    golangci-lint run
Here we tell make not to treat our tasks as directories (.PHONY), give it the default target of help so that when just running make by itself we see the help, and then define our tasks.
For these types of simple tasks where you don’t need the incremental build nature of make, I recommend using just instead!
Just
Just is like make but more focused on being a command runner rather than a fully fledged build system. It let’s you do a few cool things that are either impossible or tricky to do in make!
Just is available in all sorts of ways, if you’re on macOS you can get it with homebrew:
brew install just
Just is configured using a justfile (like make’s makefile). The equivalent justfile to our makefile above would look like this:
_default:
    @just --list

# Compile the program
build:
    go build .

# Run unit tests
test:
    go test -race ./...

# Run linting
lint:
    golangci-lint run
Now when you run just you will see something like this:
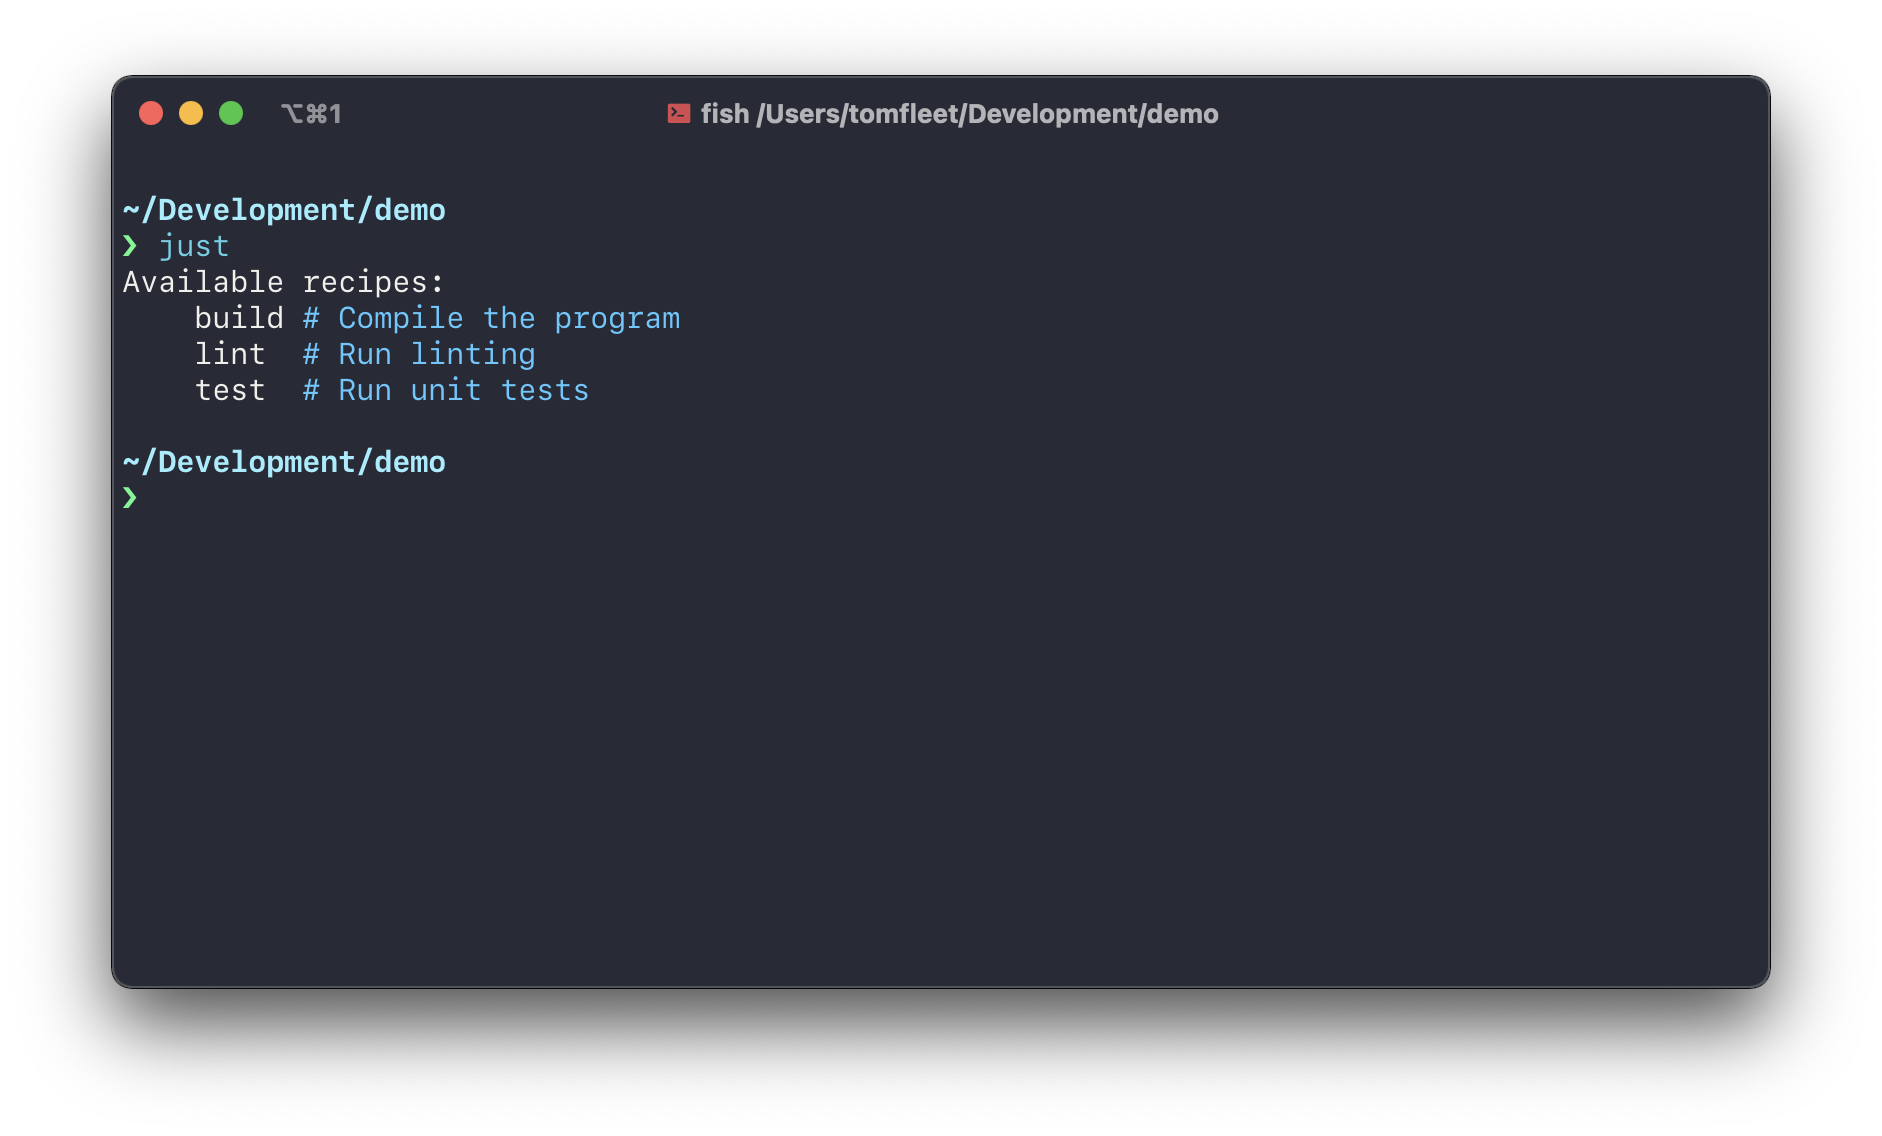
And look how simple our file is! Even if you have no idea about just or make, you could definitely work out what it’s doing. There’s a couple of cool features going on here:
- Setting a private default recipe
_defaultto show to the list of all recipes@just --list - The comments are used as the help text automatically
So no need for .PHONY or our own custom help target (which could easily fall out of date with the actual recipes)
If you’re just after a simple replacement for make as a task runner, you could probably stop here and go read the docs for just to learn more. The rest of this post will be just a few examples of how I’ve used just to achieve some cool things.
Global Variables
You can declare variables with make of course, but I always end up googling the syntax and there’s certain things it can’t do. Just’s variable declaration syntax is super easy:
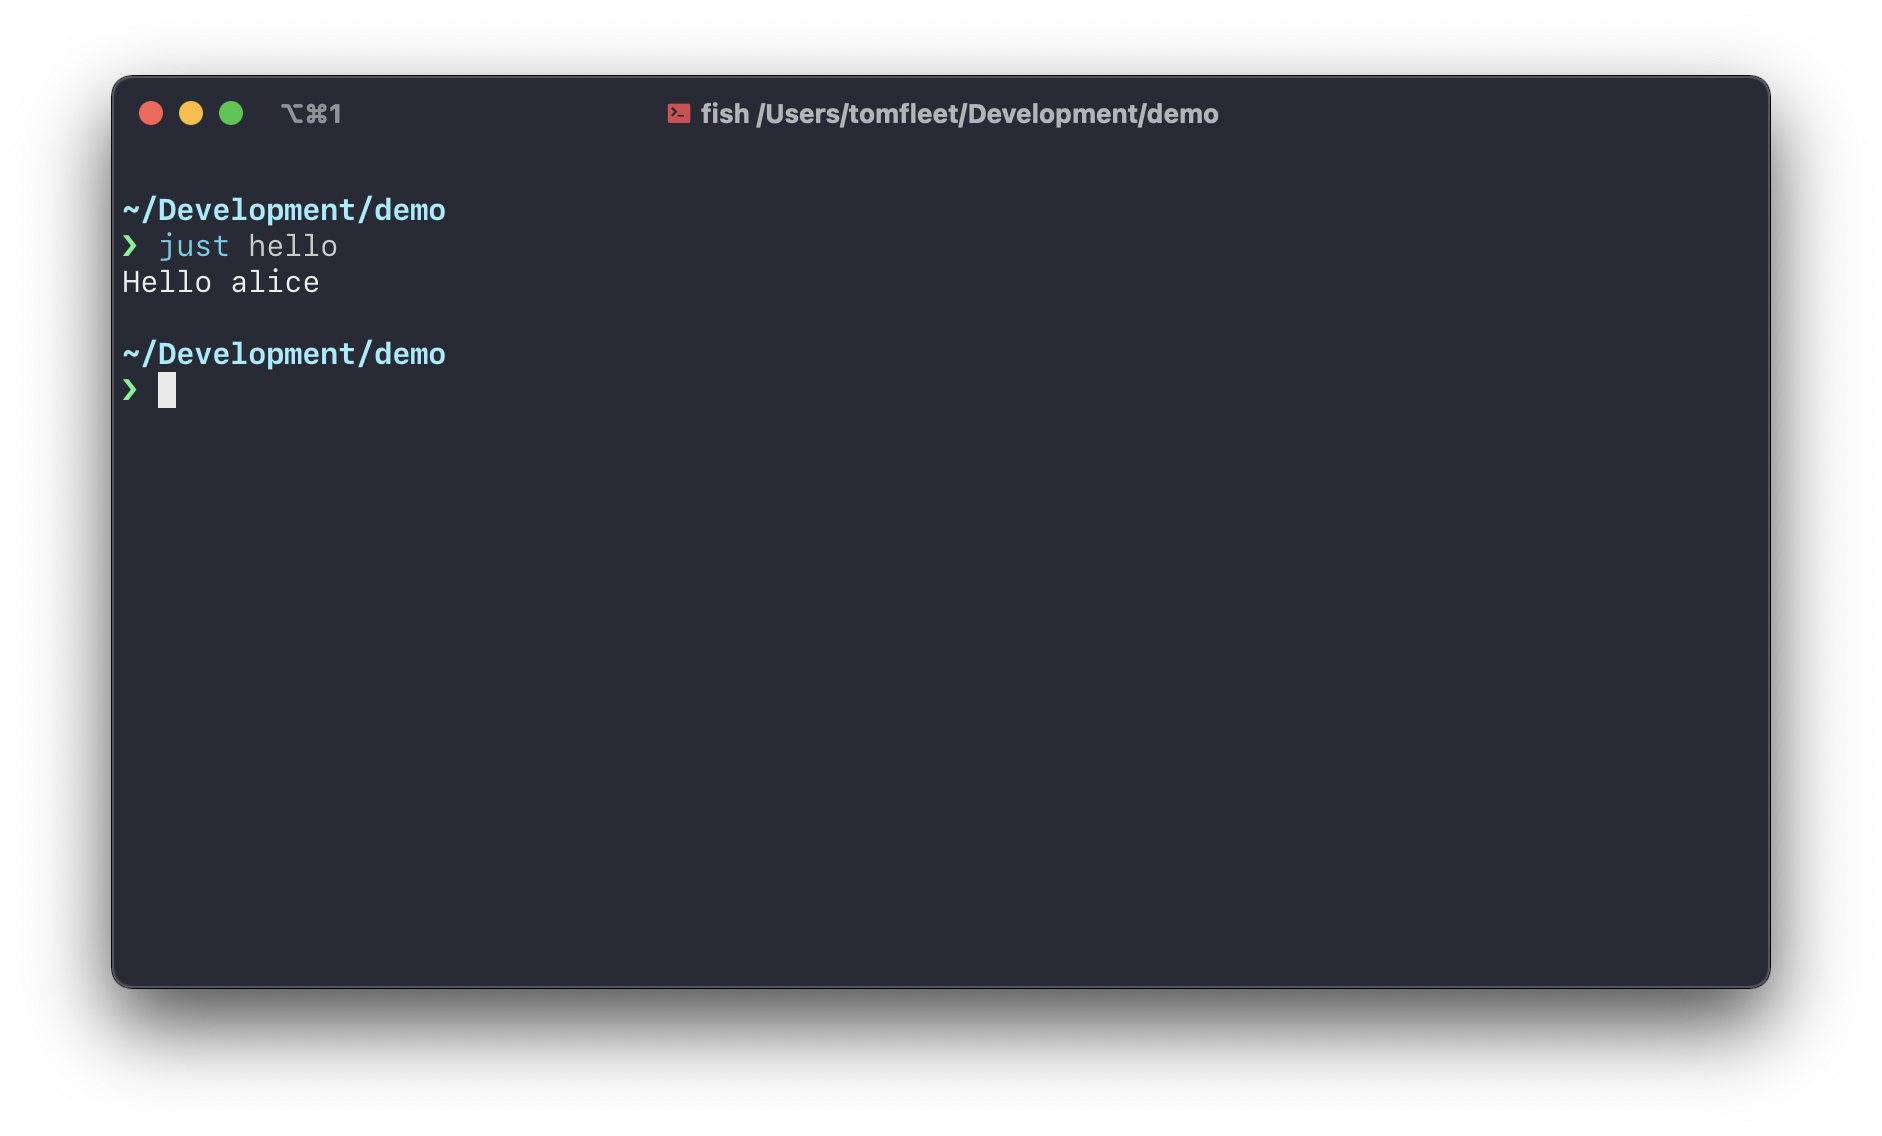
name := "alice"

hello:
    @echo "Hello {{ name }}"
Now when you run just hello:
I often use this to set compilation flags, for example:
project_name := "tag"
project_path := "github.com/FollowTheProcess/tag"
project_entry_point := "./cmd/tag"
project_binaries := "./bin"

ver_ldflag := project_path + "/cli/cmd.version"
sha_ldflag := project_path + "/cli/cmd.commit"

commit_sha := `git rev-parse HEAD`

# Compile the project binary
build:
    go build -ldflags="-s -w -X {{ ver_ldflag }}=dev -X {{ sha_ldflag }}={{ commit_sha }}" -o {{ project_binaries }}/{{ project_name }} {{ project_entry_point }}
So now when I build (in this case tag), the version and the commit hash are compiled into the binary itself. So when you run tag version these are displayed to the user.
Now, did you spot this: git rev-parse HEAD 🤔…
Getting Info from External Commands
In just, when you declare a variable with backticks the expression inside the backticks is run in a shell and the output of that expression is used as the variable.
So in this expression:
commit_sha := `git rev-parse HEAD`
git rev-parse HEAD is run in a shell, and the output (e.g. c1bbddbd6d9486e1a5e32e0b8d8a0bb9094eb269) is used as the variable.
I find this spectacularly useful! It means you can grep and glob to your hearts content to populate variables in your justfile
Keep your Credentials Hidden in .env files
If you’re developing web stuff like REST APIs, you’ll more often than not have to connect to a database. This involves managing credentials like DB users and passwords etc and this can be tricky!
A common solution is to use environment variables (e.g. export DB_PASSWORD "superpassword") then grabbing this in your code.
I prefer to use command line flags for this. Let’s look at a very simple Go web server that connects to a database:
// main.go

package main

import (
    "context"
    "database/sql"
    "flag"
    "net/http"
    "os"
    "os/signal"
    "time"

    _ "github.com/go-sql-driver/mysql"
    "github.com/sirupsen/logrus"
)

const (
    defaultPort = ":8000"   // Default port to serve on
    defaultDSN  = ""        // Default DB connection string
)

type application struct {
    logger        *logrus.Logger
}

func main() {
    // Accept command line flags for configuration and secrets
    port := flag.String("port", defaultPort, "HTTP network address")
    dsn := flag.String("dsn", defaultDSN, "MySQL data source name")
    flag.Parse()

    // Set up logger
    log := logrus.New()
    log.Out = os.Stdout

    if *dsn == "" {
        log.Fatalln("dsn must not be empty")
    }

    log.Infoln("Establishing db connection")
    db, err := openDB(*dsn)
    if err != nil {
        log.WithError(err).Fatalln("Error connecting to DB")
    }
    defer func() {
        log.Infoln("Closing DB connection")
        db.Close()
    }()


    app := &application{
        logger:        log,
    }

    srv := &http.Server{
        Addr:         *port,
        Handler:      app.routes(),
        ReadTimeout:  5 * time.Second,  // max time to read request from the client
        WriteTimeout: 10 * time.Second, // max time to write response to the client
        IdleTimeout:  60 * time.Second, // max time for connections using TCP Keep-Alive
    }

    // start the server in a goroutine so it runs off doing it's own thing
    go func() {
        log.WithField("port", *port).Infoln("Starting server on port")

        err := srv.ListenAndServe()
        if err != nil && err != http.ErrServerClosed {
            log.WithError(err).Errorln("Error starting server")
        }
    }()

    // trap sigterm or interrupt and gracefully shutdown the server
    c := make(chan os.Signal, 1)
    signal.Notify(c, os.Interrupt)
    signal.Notify(c, os.Kill)

    // Block the rest of the code until a signal is received.
    sig := <-c
    log.WithField("sig", sig).Infoln("Got signal")
    log.Infoln("Shutting everything down gracefully")

    // gracefully shutdown the server, waiting max 30 seconds for current operations to complete
    ctx, cancel := context.WithTimeout(context.Background(), 30*time.Second)
    defer cancel()
    if err := srv.Shutdown(ctx); err != nil {
        log.WithError(err).Fatalln("Graceful shutdown failed")
    }
    log.Infoln("Server shutdown successfully")
}


func openDB(dsn string) (*sql.DB, error) {
    db, err := sql.Open("mysql", dsn)
    if err != nil {
        return nil, err
    }
    if err = db.Ping(); err != nil {
        return nil, err
    }
    return db, nil
}
The actual Go code is somewhat unimportant, I’ve included a complete example because too often these things are meaningless toy examples.
The key thing to note is that we’re taking our database connection string (which contains the user and password) from a command line flag.
This is where just comes in! Rather than typing this out, we can store these things in a .env file (which should be gitignored!):
DB_USER=user
DB_NAME=mydatabase
DB_PASSWORD=superpassword
Just can load .env files and work with the things defined in them. So now all we need to do is:
set dotenv-load := true

port := ":8000"

# Start the development server
start:
    go run main.go -dsn="$DB_USER:$DB_PASSWORD@/$DB_NAME" -port={{ port }}
And this will work exactly as expected! Your variables in the .env file will be plugged in to the dsn and your application will run. Doing it this way means there is no danger of leaking credentials and aslong as you use just to launch your application, everything will work! 🎉
More
Just can do loads more cool stuff than I’ve listed here, these were just a few examples I thought were worthy of sharing. Check out the docs and support the project. Full credit to casey for the amazing work on just!